Building a Strong Foundation: How Post-Tensioned Slabs Are Placed, Cured, and Stressed
When it comes to building homes in Texas, few elements matter more than the foundation beneath your feet. Many new homes use post-tensioned concrete slabs—a system that adds strength and flexibility by running high-strength steel tendons through the concrete. Once tensioned, those cables help the slab resist cracking and movement caused by expansive clay soils and shifting weather.
Here’s what actually happens once the site is prepared and the concrete trucks roll in, based on procedures outlined by the Post-Tensioning Institute (PTI)—the industry authority on post-tension systems.
1. Pouring Concrete Over the Prepared Tendons
Before any concrete is placed, inspectors verify that the tendons—the greased and sheathed steel strands running through the slab—are secured at precise heights using chairs and supports. They must follow the engineered layout exactly, with every cable and anchor locked in place. Once approved, the pour can begin.
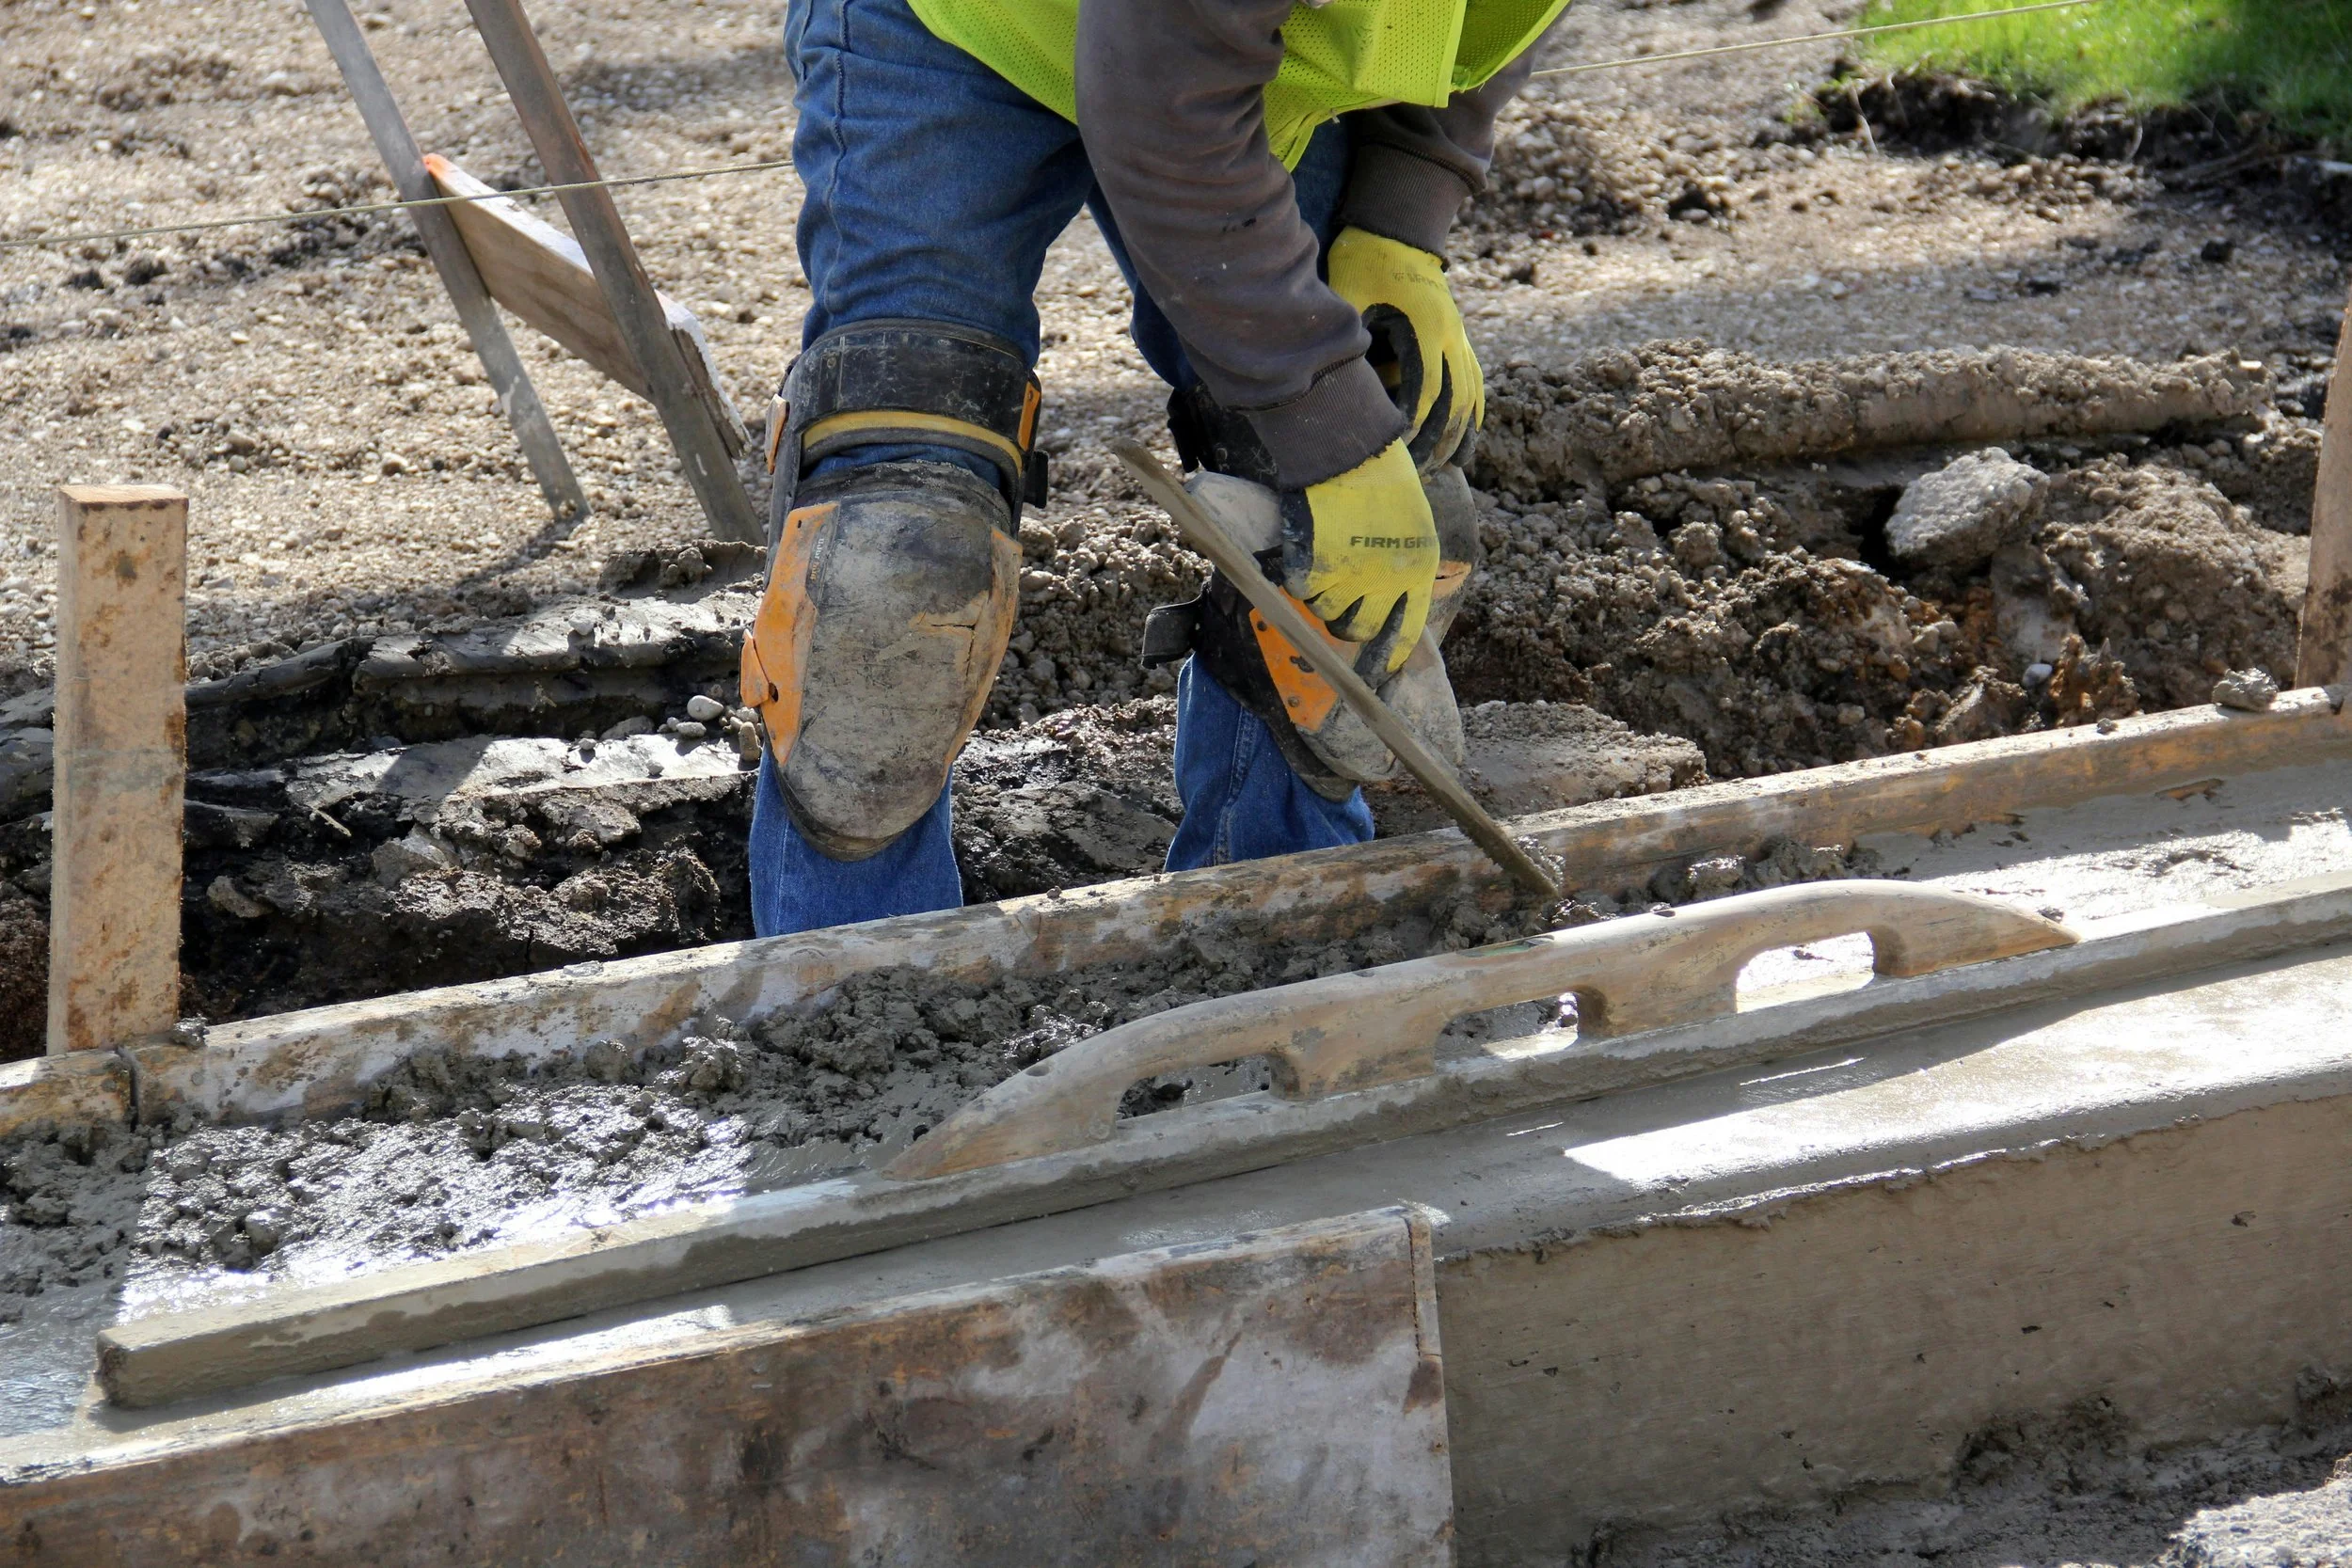
Concrete is deposited carefully to avoid shifting those tendons. Workers spread it evenly, keeping it as close to its final position as possible. The crew constantly checks that the tendons stay aligned and supported. If one starts to float or move, it’s re-tied before more concrete goes down.
Vibrators are used to consolidate the concrete around each cable and anchor pocket. This step is crucial: voids around an anchor can weaken the connection later. However, PTI warns against letting the vibrator touch the tendon sheathing or anchor hardware directly. By the time finishing crews move in, the tendons are fully encased and protected within the slab.
2. Proper Curing to Build Strength and Prevent Cracks

After finishing, the next phase—curing—is where long-term slab performance is won or lost. Curing keeps moisture and temperature consistent as the concrete hardens, ensuring strength builds evenly.
Curing should begin immediately after finishing, using either a spray-on membrane compound or wet coverings like soaked burlap under plastic sheets. The goal is simple: prevent the surface from drying too fast. In Central Texas’ heat, early drying can lead to surface cracks even before the slab gains full strength.
PTI recommends keeping the slab continuously moist for at least several days—often until it reaches the required strength for stressing. A second coat of curing compound or insulating blankets may be used if the slab must sit longer before tendons are tensioned.
The curing period should also be a “quiet” time for the concrete. Heavy loads or early framing work can disrupt strength gain and cause cracking. PTI emphasizes patience: let the slab cure completely and evenly before any post-tensioning begins.
3. When and How Tendons Are Stressed

Post-tensioning typically happens within three to four days after the pour, depending on weather and mix design. Waiting too long can allow shrinkage cracks to develop; going too early risks overstressing the concrete.
PTI guidance calls for stressing only after the concrete reaches at least 75% of its design strength—usually around 2,500 to 3,000 psi. Concrete cylinders are tested to confirm this before tensioning starts.
A trained technician uses a calibrated hydraulic jack to pull each steel tendon to its specified force. Most residential slabs use single-end stressing, meaning the cable is tensioned from one side only. As the jack pulls, the anchor wedges grip the strand, holding the tension once the jack is released. This compresses the slab, putting it in a permanent state of compression that fights cracking and deflection.
4. Quality Control and Safety
Every tendon’s elongation (stretch) is measured and compared to its design value. The PTI tolerance is about ±7% of the calculated elongation. If a tendon’s stretch is outside that range, the crew pauses and checks for issues such as friction, obstruction, or equipment error.
Technicians record jack pressures, elongations, calibration dates, and inspection sign-offs. PTI also requires that stressing equipment be regularly calibrated and verified—a safeguard that ensures each cable reaches its proper force.
Safety during stressing is paramount. Workers must stand clear of live ends, as tendons under tension can store immense energy. Only trained personnel operate the hydraulic jacks, and areas behind anchors are barricaded while stressing is underway.
5. Cutting and Protecting the Tendons
After all tendons are stressed and inspected, the inspector or engineer reviews the data to confirm that every cable meets the required force. Only then are the tendon tails trimmed—cut a short distance from the anchor so that enough strand remains to cover with grout.
Each anchor pocket along the slab’s edge is then filled with non-shrink, high-strength grout to protect the steel from corrosion and moisture. Once patched, the system is fully sealed and the slab is officially “locked in.”
Why It Matters
The careful sequence of placement, curing, and stressing is what gives a post-tensioned slab its long-term strength. Done correctly, the slab resists the soil expansion and contraction that challenge so many Texas homes. Done poorly—if tendons move during the pour, curing is rushed, or stressing is delayed—cracking and uneven settlement can occur years down the line.
By following PTI-approved methods, builders ensure the concrete gains strength steadily, the tendons achieve proper tension, and the home’s foundation performs as designed for decades.
So the next time you see those small steel cables sticking out of a new foundation, remember: those unassuming strands are doing the heavy lifting—literally keeping your home together from the ground up.